Friday 28 June 2013

4 wheels on my wagon ! plus fuse box and ECU.

More work today on the electrics and other things on the list to finish off under the car. Had a visit over to the factory at GBS earlier this week, and got a few extra bits... finally got the pressure cap for the cooling system, a return spring for the accelerator, new style headlamps with "cool" looking LED side lights. Also was going to order the windscreen kit, but they had them in stock so purchased that as well ! wasn't going to spend that much but if I'd waited till after the IVA test with my luck it would out of stock ?. also ordered the rear diffuser and fixing kit... this has a waiting time of 6 to 8 weeks so should be ready after the IVA test ?

Spoke at length to Richard and Simon at the factory about the next few steps... So back on EBay to order some more bits, not too expensive this time, just items I hadn't got, One of which is a new Rivnut tool as I broke the last one setting a riv nut... A rather loud BANG as I snapped the metal tooling !!

So while waiting for these items to arrive... on with today's items.

The Fuse box has been hanging around in the passenger compartment and needs to be fitted onto the firewall along with the ECU, simple job, just bolted through some holes...


Space left to the side for the wiper motor which will be fitted after the IVA test.

Next... Ignition barrel and storks. Ignition barrel has a small locking button which can only be operated buy the key, this has to be turned to position 1 on the key, then slotted into the housing on the steering column, turn the key back to 0 and its in. The storks require 4 x 5mm bolts and attach to either side of the column.


Underneath the car while it's still on the tressels, trimmed down the seat bolts with the grinder, and plugged it the reversing wires to the reversing switch on the gearbox.

Before the wheels go on and while we have access to all the bolts on the front of the car we did a final check on the tightness of the bolts, then marked them with a paint pen as checked and finished.


More Wiring... the cooling fan needed connecting up, and the high pressure fuel pump. After talking to Richard found out that the 2 different coloured wires to the fuel pump, Brown and grey, that Brown was the earth and grey the feed, as there are 2 fuel pumps on the car this got a bit confusing as only one pump (the rear) was listed on the chassis wring diagram ? Hope it all works when we try to start the car ?


Front brake pipes fitting, flexible braided pipes from the calipers to the side panel, then connected to the brake line on the inside. A bit of bending and a couple of "P" clips needed. IVA states that a maximum of 300mm is needed between the clips, and also that a cut down nut cover is needed over the nut of the brake pipe which enters the brake caliper.


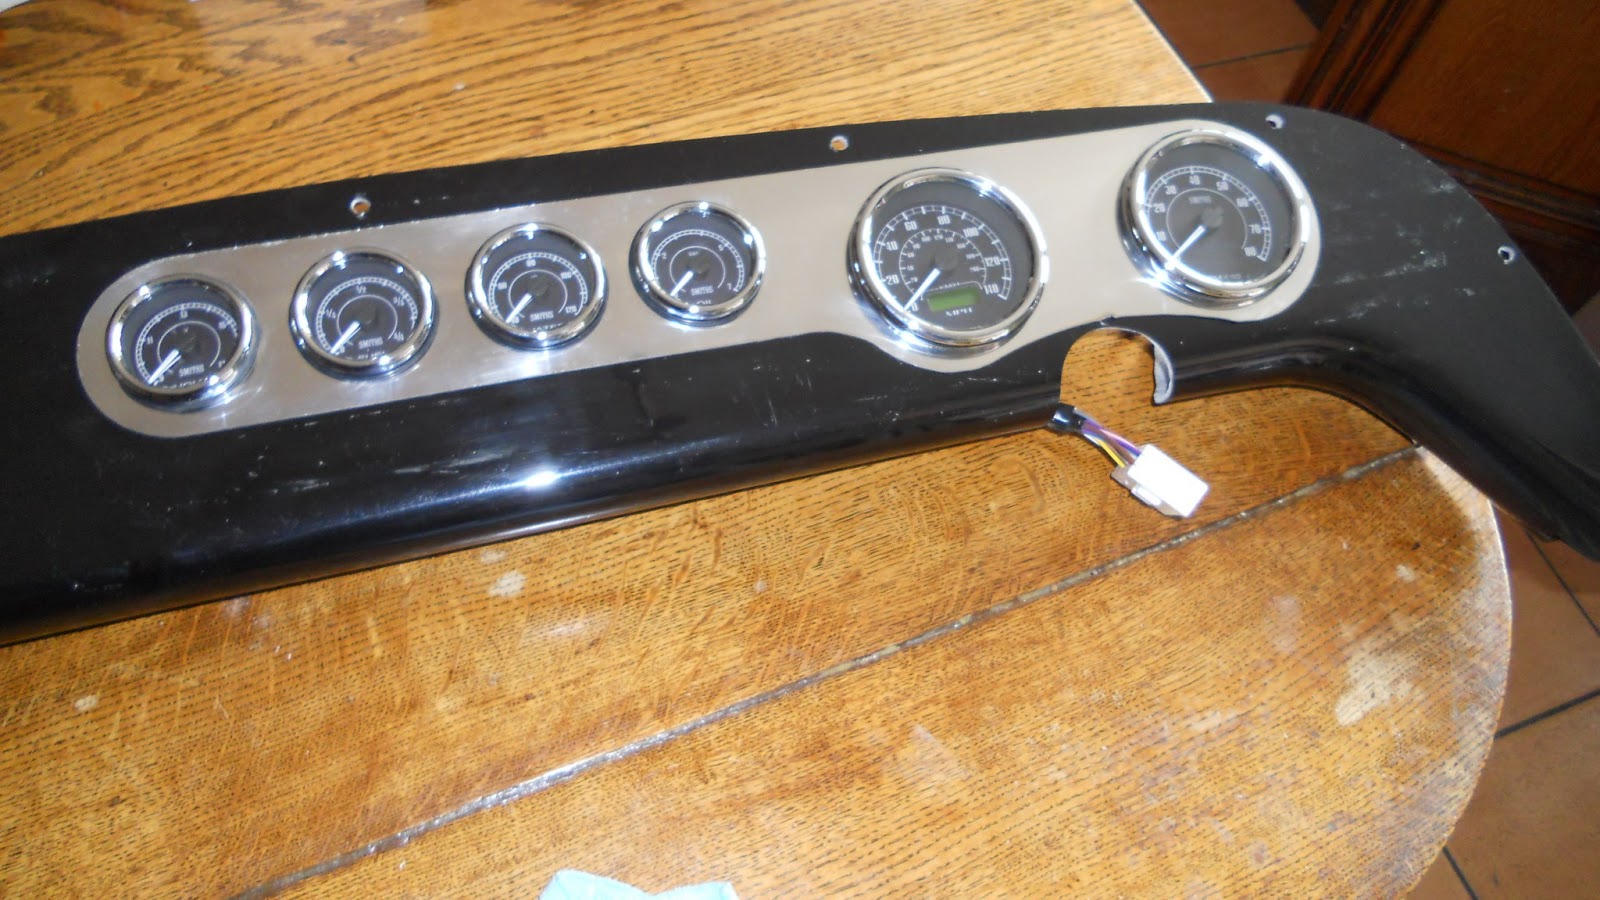
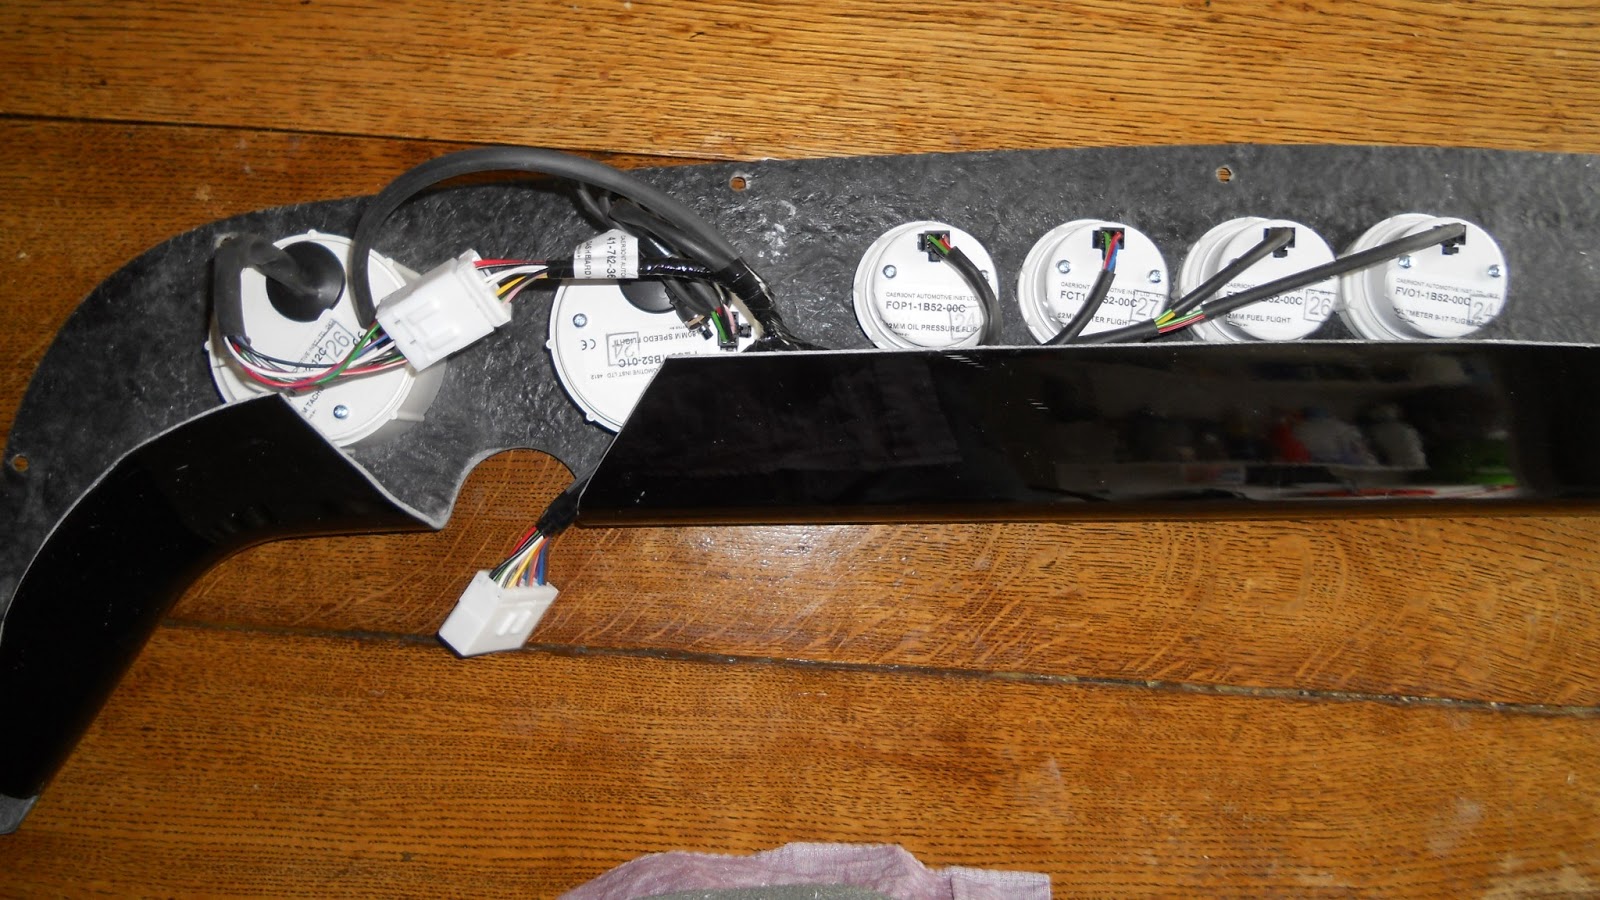
Next.. Wiring the lower dash loom, Interesting and a bit of a head scratcher ! think GBS need a more clearer diagram on this part ? however after about 20 minutes and a multimeter we think we sorted it ? time will tell when we connect it up later on in the build ?


While tightening up the bolts we noticed that the steering rack gaiter was just touching the trim while going through the body work, slight adjustment of about 5mm soon sorted the problem.


Wiring of the headlamps will have to wait a few more days... waiting for extra parts in the post.

ON WITH THE WHEELS !!!!!

or just 1 at the moment... while in conversation with my mate Simon we were discussing the length of the exhaust and that I may have positioned the rear bracket too far back and that the exhaust may touch the rear wheel guard ? So we fitted the rear passenger side wheel and tyre and offered up the wheel guard. Unfortunately there is no photo of this as there was not enough room. But the conclusion was that it needed to be moved as the end of the exhaust was too close to the plastic of the guard and could be a "melting" issue ?
So off with the silencer, and approx. 7cm cut off the end of the manifold pipe...


All back on at looks a much better fit !

OK... now for the rest of the wheels.

Time to get the car off the tressels and onto the floor. Richard at GBS showed me the centre of gravity on the car for lifting, So got some slings and the engine lift in place.


My son Alex helping to get the legs of the lift under the car as the hoist had to be disassembled some what to get it in position.


Got a few extra hands for this job... Keith the hoist operator, Alex the tressel remover, Simon at the front of the car, and myself at the rear.


For reasons no photos of the lift down onto the floor, but as soon as it was Alex jumped in...


Then Simon....


Then me...


Big grins on everyone's face !


Many thanks today to Simon, Keith, and Alex for all there help.


Today's build time... 12 hours

Total build time so far...172 hours

Thursday 20 June 2013

Water hose support bracket, pedal box, tidy wiring, and more trim.

I was told at the Newark Kit Car show (UK) by several Zero builders that I'm now at the stage where 95% of the build is complete with only 5% left to do, but this will now take 95% of time to complete ?? Hopefully this will not be true, but after all day working on the car with my friend Simon it was hard to tell what we had done. Actually we hardly stopped all day !

OK 1st job, as I had finally got some bits from GBS, the water hose support bracket needs fitting, job for 1 so Simon got cracking on that job...


As space is getting tight in the garage and we keep bumping into each other, I found myself inside the house finishing off the transmission tunnel top panels, covering them with Carbon fibre wrap.


Looking pretty good, finished off the handbrake and gearstick holes with thin rubber trim, then used the "Black sticky stuff" as glue to secure the rubber trim.

Next was the pedal box... lots of fettling with this, we named this part the "Karate Kid" as for about 3 hours it was "pedal box on", "Pedal box off", "pedal box on", "Pedal box off", "pedal box on", "Pedal box off", "pedal box on", etc etc !
Trying to get the accelerator cable to fit, then getting the clutch cable to fit, was stressing us both out, forgot to take photos at this stage, so here's the finished article...


Our Alex came home from school, and asked if he could help, so we got him to fit the seats....


Time to tidy up the wiring loom, While Simon was doing that, I finished of some more trim, this was the back of the seat panel stainless steel part, gluing  the rubber trim to the side parts, rubber trim to the inside of the scuttle, fitting the infill panels in the boot, and the stainless steel foot well covers.


A bit more on the wiring, routing through the live and ground wires from the battery to the starter motor and to the alternator.  Also finding good ground sources on the chassis.


Now run out of energy and completely shattered, tomorrow will probably be a clean up day.

Once again a big thank you to Simon for all his help today.


Total time build today... 16 hours.

Total Zero build time... 165 hours

Wednesday 19 June 2013

Rear panel trim, side trim, and stainless steel extra side panels

Today's tasks is to finish off the trim which fits between the rear panel and the shroud which wraps around the top of the rear panel and continues down the side next to the seats.
A bit of a fiddle, this job, so it did take a bit of time. Trying to get 2 bits of trim to sit where you want it too, drill holes for the rivets, and then get it all together to finish with a rivet would have been easier with loads of clamps, but the clamps had been put away in a safe place by my son, Alex, and could I find them NO ??

Anyway, 3 hours later 3 bits of trim in place and secured with rivets.


A different size trim will fit on the inside of the rear compartment after I have bonded the infill panels in place and glued some more carpet in the rear. Also the whole of the shroud will be covered with a black vinyl cover and secured with poppers.

Now that the trim is in place I can finish off the stainless steel panels to the rear side of the car. Bond and clamps is all that is needed, after spending nearly an hour looking for the safe place where Alex had stored the clamps !!


Next job, to trim the side covers where the doors will go. I'm opting for no doors on my build, personally I think the doors look ugly ? and after visiting the Local Kit Car show in Newark, UK. I saw quite a few with wind deflectors fitting to the side of the windscreen, some once again looked ugly, but there where a couple who had done a good job... more research I think.

The side covers are supplied too long so require a bit of trimming, in my case 35mm.


While I had the air trimmer out I also trimmed down the interior stainless steel trims which covers the chassis bar just in front on the seats on the floor (photo of this in situ in next blog)

Seems a long day today, already spent 5 hours and not a lot to show for it ?

Last job of the day... the covering of the transmission tunnel panels.

I have been to a few Kit Car shows, and open days at factories and lots of builders seem to put on vinyl covering on the transmission panels, this is now looking a bit dated in my opinion, making the kit look like it was built in the 70's and 80's ?
Seen a few with "Carbon fibre" wrap applied and these look very modern, so I have purchase a small roll of it to give it a try. Laid out the panels on the wrap, and also to make sure the "weave" is all in the same direction.


Time for a cuppa, will cut out and stick later on tonight.

Time for build today... 6 hours.

Total build time... 149 hours.

Monday 10 June 2013

Headlights and Dash board

Back on the build after a week away with my good friend Simon. Nice to have a week doing nothing but relaxing, chilling out, and having a beer or two ! It also gave me time to think about the next few steps on the Zero. So first day back its the headlights, and sorting out the dash board.

The first half hour was spent as usual with a cuppa and planning the morning. I know I'm getting close as before I went away I had sorted out all the parts left to go on the car and it all went into 2 x 50L boxes.

The headlights, I have opted for "black" painted backs instead of chrome ones, as the colour scheme is stainless steel and black GPR. These are simply bolted on to the headlight brackets. Lamps are secured with a metal spring clip, and the wires are threaded through the hollow bolt. As usual there is a tricky bit, this was just the retaining screw and bolt for the headlamp surround. Small and fiddly with my thick figures !


So the head lights are in position, but not tight. will wire these up along with other wiring later on in the build.


She has eyes !

Now for the dash...

Still can't make my mind up if I'm going for the "black" GPR look or the carbon fibre wrap look ?
We see how it looks when I get the instruments are in.

I have purchased a stainless steel instrument surround, so using this as a template I marked out the holes on the dash on a masking tape back. Also I have to cut out a small radius for the steering column, so the 2 main instruments will sit equal distances apart from the steering column.


As you can see from the photo, the radius has already been cut with my Dremel fitted with a small cutting disc. Also centres have been found for the hole saws.


The Volt, Fuel, Water, and Oil gauges are all 52mm diameter, and this size hole saw is a common size so quite cheap to buy. Where as the Rev counter and Speedo are 80mm, and that size hole saw is a small fortune, so I purchased a 79mm hole saw which was a fraction of the price, and I shall increase the size of the hole with a drum sander, its only 1mm but it will save me over £50 !

Richard from GBS recommended running the hole saws in reverse to start "scoring" the hole first as the gel coat can "break out" with a fresh saw. Then once the perimeter of the hole has been scored run the saw in the normal direction to cut through.


Recommend you do all the drilling outside, the dust goes everywhere ! but the finished dash looks good.


The stainless steel surround is laser cut at the factory and when cut it leaves a burn line on the outside from the protective film, using an old fashioned Silver cleaner this was soon removed.


You can see from the middle photo above the black burn lines close to the edge of the cut, and then after in the last photo.

I had chosen the "Smiths", "Flight" series of instruments, they have a modern but classic look about them.


All instruments now fitted...

So should I leave it in black GPR or cover it in a carbon fibre wrap ?  leave a comment ?

Note :- The Centre console and transmission tunnel will have carbon fibre wrap


Finally wired up the rear with the dash part of the Loom.


4 Hours work today.

Total build time... 143 hours