Yet again the cold weather has returned, snow during the night made for an interesting morning watching a mini bus skating down the street ! Anyway today with a couple of friends, Simon, and Russ we shall hopefully attempt to install the engine and gearbox.
After a cuppa and a bacon cob we headed for the garage, as we only have one hoist, first on the list was to get the car off the high tressels and onto lower axle stands, simple reason was that it was too high for access with the engine swinging from the hoist, while hitting the "up and over" garage door.
With the chassis now safely on axle stands we could now lift the engine onto a workmate table to remove the sump ready for the new lowered sump from "Raceline".
Drained the oil, also removed was the inlet and outlet manifolds, a breather pipe and plate. A blanking plate supplied by GBS replaced the breather plate, finished it off quite nicely.
Easier to have the engine on its side to remove the sump, not swinging around on the hoist. The black tin panel is removed first as the oil pick up pipe inside needs to be removed before the remainder of the sump. Read this from a few other blogs, so passing on the information... it does save time.
The "Raceline" sump is a nice bit of kit, the instructions could have done with a picture or two to help with fitting, but after reading the instructions several times we soon figured it out.
The instructions have torque settings for all the bolts, unfortunately when you have settings of 7, 15, 18 lb ft, and your torque wrench starts at 30 lb ft, this can be a small issue, so we estimated to the best of our ability.
So fitting the new sump went fairly well. And we even smiled while fitting it !
So with the sump now fitted we offered up the gearbox, as the new sump is smaller than the gearbox when fitted it has an area of the bell housing which requires a little trimming with an angle grinder, not a great deal, only about 6 to 7mm which hangs down low, if this is not trimmed in the unfortunate event that you may catch the bell housing while driving it could result in a cracked gearbox ? 10 mins later a flush (ish) fit, did trim it a few mm more than required, but there's plenty of bell housing to go at !
Before the gearbox was bolted to the engine, a few small jobs beforehand...
MT75 clutch arm pin... just tapped into the hole in the back of the bell housing.
Clutch arm and and release bearing. the bearing simply clips into the clutch arm, then slides over the shaft.
Spigot bearing... with a wooden drift, knocked home, without the need to remove the clutch or flywheel.
Two dowels inserted in the bell housing.
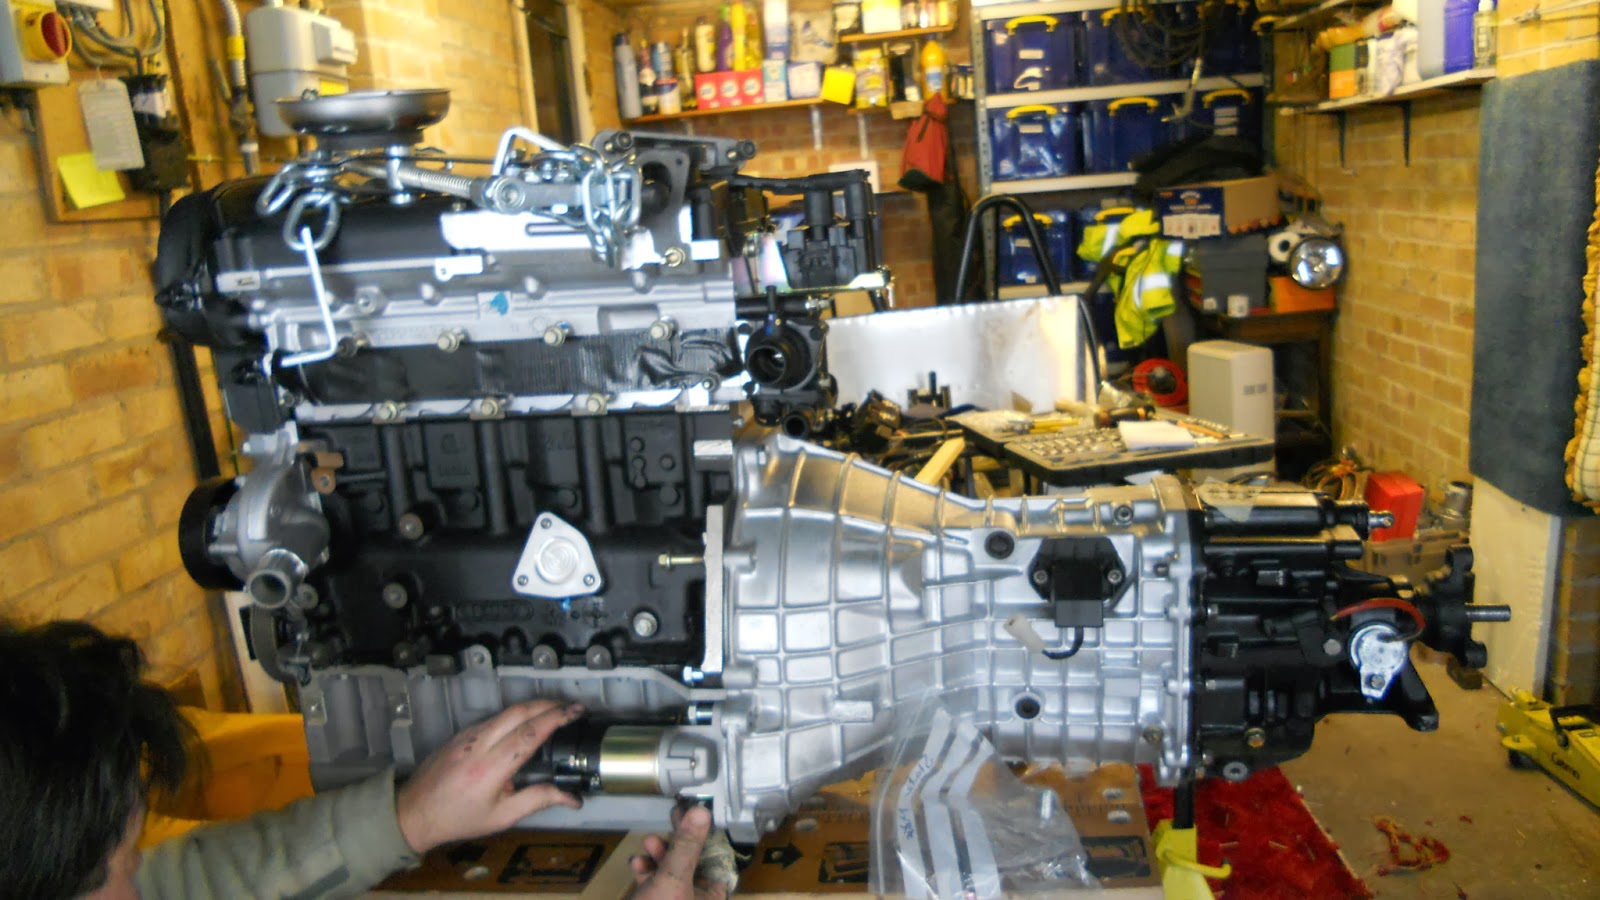
OK now to connect the gearbox to the engine...
I have to say... going very well so far ?... I SPOKE TOO SOON !
The starter motor looked like it might be a bit fiddly to fit when the engine is in, so we dicided to fit it first, we weren't wrong ! what a nightmare. 2 of the bolts went in fine, the last one.... what a pig !
As you can see in the photos, could not get a spanner around the nut for love nor money, ended up using a spanner end-on, turning the bolt only a small amount each time, approximately 10-12 for every full turn of the bolt ! Poor Simon was pulling his hair out !
Finally its all bolted up ready for getting into the chassis.
Getting the gearbox/engine unit into the chassis was quite easy, but getting the gearbox into its mount wasn't. We just needed a couple of millimetres one way then a milimetre the other way, pushing the unit one way then the other, still no joy ?
We slackened all the nuts and bolts off from around the gearbox mounting area, still not quite there ?
Lots of "to me" and "to you" and still no joy !!
Decided the way to go was to get the prop shaftbolts in first, as this might pull the gearbox into the mounting. 3 bolts in total, the first 2 went in fine, but you guessed it the last one.... GRRRRR ! I'm surprised Simon's got and hair left ?
Picture above shows the prop shaft bolts part tightned, and the gearbox mounting plate hole just visable below, still requires tightening up, but getting closer.
Well to cut a long story short, Simon finally got the gearbox bolt in, with the help of a trolley jack, Thor's hammer, blood, sweat, but no tears.
Now onto the engine mounts, these have to be put on after the engine is inside the chassis, it just will not fit with them on first. Bit of head scratching but soon figured out which mount went on either side of the engine, they are different, one has some spacers, and the other none, however a couple of washers had to be used along side the spacers as these where a little short. Once fitted to the engine, we lowered the hoist so that the mounts just touched the chassis, I had already marked the centre of the chassis in front on the engine, so we just has to position the centre of the engine to this point, as seen in the photo below.
Now all central, drilled the chassis through the engine mount plates, and bolted up. x 8 holes, nuts, bolts and washers.
Alex arrived home from school just in time to help, as we were starting to fade a bit, did a good job by getting the kettle on.
All looking quite happy now ! A JOB WELL DONE !
The next hour or so was spent having a general chat, then Simon remembered one last bolt to tighten, so under the car he went, it was the end bolt in the sump, next to the bell housing.... we heard a little tinkle sound, then the air turned blue ! The 10mm socket head had fallen off the end of the extention arm and had disappeared into the space between the housing and the flywheel !! ??
Well the next half hour was spent taking off the starter motor, reteving the 10mm socket head from the bottom of the flywheel area with a magnet stick, then bolting back on the starter motor.
And yes, most of the time was spent tightening up that last bolt !
Once again many, many thanks to Simon and Russ for helping me out today getting the engine and gearbox in, this is not a easy one man job.
Time to fit gearbox and engine 10 hrs x 3 people
Total time of build so far 71 hrs ( I have taken today as 30 hrs as I think this would be the time for 1 person to complete all these jobs )
AMENDMENTS
It was late last night while writing this blog, and while reading through it the next morning I had missed a few items...
We did fill the engine with fresh oil, picked up a cheap, but respectable 5w/30 fully synthetic oil locally on sale for £18.99, bargain as the local car-parts superstore had the same stuff for £34.99.
Smiles on the faces where not ones of joy, but of wind ! which at one point turned into tears ?
After getting the first couple of bolts in the engine to chassis mounts, we then used the hoist to raise the car back onto the tressels to save our backs, as pictured below.